
2. Getting started
Signing in
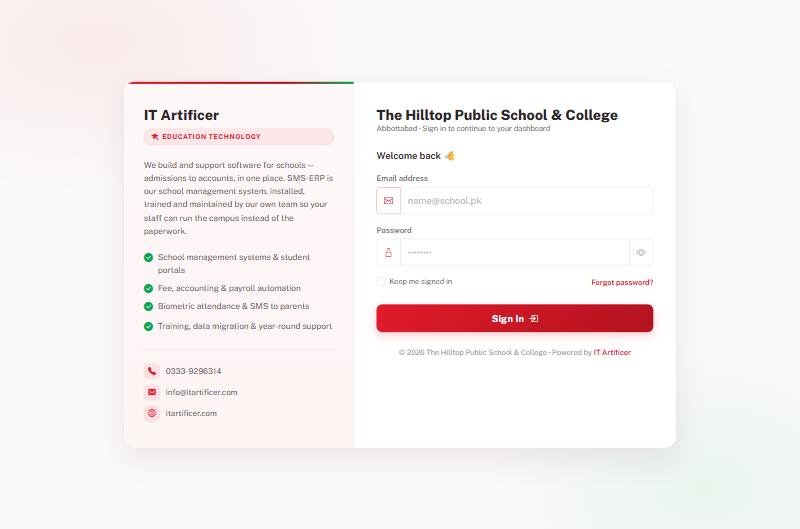
Open the school's address in a browser. Each member of staff has their own email and password — accounts are never shared, because every entry in the system records who made it.
Finding your way
Three things sit on every page. The sidebar on the left lists every module you are allowed to open. The top menu groups the same things by area — Students, Academics, Finance, Services, Reports, Administration. The search box at the top finds a student or a family from anywhere: type a name, an admission number or a mobile number.
A school with more than one campus also gets a campus selector beside the search box. Everything on screen then belongs to the campus chosen there; choose All Branches to see the group as a whole.
Before the first school day
- Set the campus details: name, address, phone, logo and the bank accounts printed on a fee slip, under Administration › Branches.
- Create the academic session and mark it current.
- Enter classes and their sections, and name a class teacher for each section.
- Enter subjects and attach them to classes.
- Enter fee heads and the amount each class pays, under Fee Management.
- Add staff accounts and give each the role they need.
- Admit students, or import them from a spreadsheet.
Ready to see it live?
Book a free demo of School Smart ERP for your school or college.