
4. Students & families
A child belongs to a family, and the family is what the system bills. Brothers and sisters share one family record, one family code and one challan where the school wants it that way.
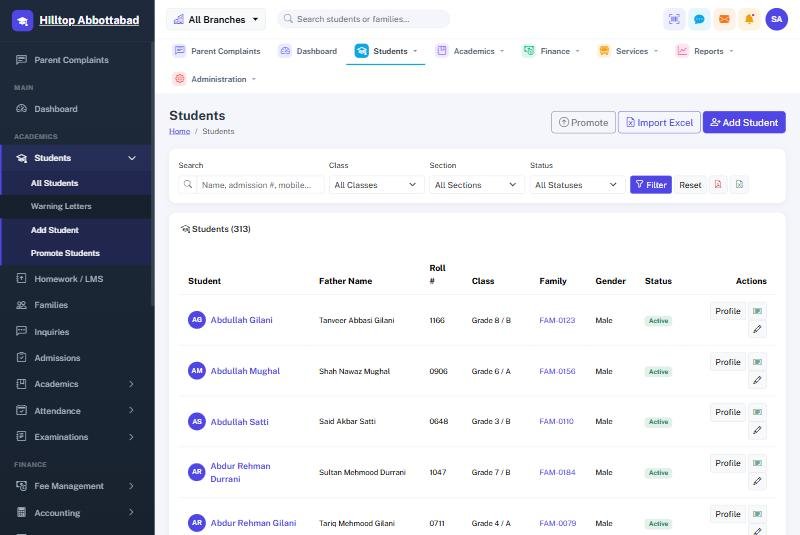
Adding a student
Students › Add Student takes the child's details, the family they belong to (new or existing), the class and section, and the admission date. The admission number is issued automatically. Attach the photograph and any documents — the B-Form, the previous school's leaving certificate — and they stay on the record.
Importing a whole school
A school moving from paper or from another system should not type three hundred children in by hand. Students › Import Excel takes a spreadsheet; download the template first so the columns match, fill it, and upload. Families are matched or created as the import runs.
Through the year
- Promote moves a class up at year end, in bulk, with the leavers excluded.
- Status marks a child left, struck off or passed out, with the reason recorded.
- Warning letters are issued from the student's own page and printed on the school's letterhead.
- Create login gives the parent or the student their portal account.
A child who has left should be marked Left, never deleted. Their fee history, receipts and results belong in the school's books, and a deleted record takes all of it with them. Marking them left removes them from registers and billing while keeping the history intact.
Ready to see it live?
Book a free demo of School Smart ERP for your school or college.